Requirements
- Paymenter v1.x with a running queue worker (reinstalls and restores run in the background).
- Proxmox VE 9. Proxmox VE 8 works too; see the note in the role step.
- An API token on Proxmox. Paymenter has to reach the Proxmox API on port 8006; your customers never need to.
Installation
Step 1: Upload the extension
Extract the zip and upload the Proxmox folder to the server extensions of Paymenter:
/var/www/paymenter/extensions/Servers/Proxmox/Make sure the web server user owns the files:
chown -R www-data:www-data /var/www/paymenter/extensions/Servers/ProxmoxStep 2: Add the server in Paymenter
Admin Panel → Servers → New server → Extension: ProxmoxFill in the Proxmox URL and the API token from the next section, then press Test Connection.
Preparing Proxmox
The extension only needs access to its own pool, storages and bridge. Run these commands on a Proxmox node as root and change the pool, storage and bridge names to yours.
Step 1: Create a role
pveum role add PaymenterProxmox -privs "VM.Allocate VM.Clone VM.Audit VM.PowerMgmt VM.Console VM.Backup VM.Snapshot VM.Snapshot.Rollback VM.Config.CDROM VM.Config.CPU VM.Config.Cloudinit VM.Config.Disk VM.Config.HWType VM.Config.Memory VM.Config.Network VM.Config.Options VM.GuestAgent.Audit VM.GuestAgent.Unrestricted Datastore.AllocateSpace Datastore.Audit Pool.Audit SDN.Use"On Proxmox VE 8, replace VM.GuestAgent.Audit VM.GuestAgent.Unrestricted with VM.Monitor.
Step 2: Create a pool, a user and the permissions
pveum pool add customers
pveum user add paymenter@pve
pveum acl modify /pool/customers -user paymenter@pve -role PaymenterProxmox
pveum acl modify /storage/local-zfs -user paymenter@pve -role PaymenterProxmox
pveum acl modify /storage/local -user paymenter@pve -role PaymenterProxmox
pveum acl modify /sdn/zones/localnetwork -user paymenter@pve -role PaymenterProxmox
pveum acl modify /nodes -user paymenter@pve -role PVEAuditor
local-zfs holds the disks, local holds the container templates and backups. Use your own storages if they are different.
Step 3: Create the API token
pveum user token add paymenter@pve billing --privsep 0Copy the token ID (paymenter@pve!billing) and the secret into the server settings in Paymenter. The secret is shown only once.
Templates
Virtual machine templates
Virtual machines are cloned from a cloud-init template that sits in the pool. A cloud image only allows SSH keys by default, so prepare it once to accept the root password from the welcome email and to run the guest agent:
apt install libguestfs-tools
wget https://cloud.debian.org/images/cloud/trixie/latest/debian-13-genericcloud-amd64.qcow2
virt-customize -a debian-13-genericcloud-amd64.qcow2 \
  --install qemu-guest-agent \
  --run-command "printf 'PermitRootLogin yes\nPasswordAuthentication yes\n' > /etc/ssh/sshd_config.d/10-hosting.conf" \
  --run-command "printf 'ssh_pwauth: true\ndisable_root: false\n' > /etc/cloud/cloud.cfg.d/99-hosting.cfg" \
  --truncate /etc/machine-id
Then turn the image into a template:
qm create 9000 --name debian-13 --pool customers --memory 1024 --cores 1 --ostype l26 \
  --scsihw virtio-scsi-single --net0 virtio,bridge=vmbr0 --agent enabled=1 --serial0 socket
qm set 9000 --scsi0 local-zfs:0,import-from=/root/debian-13-genericcloud-amd64.qcow2
qm set 9000 --ide2 local-zfs:cloudinit --boot order=scsi0
qm template 9000
Repeat this for every operating system you want to offer. The disk is grown to the size of the product on creation.
Container templates
pveam update
pveam download local debian-13-standard_13.6-1_amd64.tar.zst
Console
The console works right after installation, without any extra setup. The browser of your customer only talks to Paymenter; Paymenter connects to Proxmox with your API token, so Proxmox never has to be public.
Each open console keeps one PHP worker busy while it is open. If many customers use the console at the same time, raise pm.max_children in your PHP-FPM pool, or use the relay service below.
Optional: relay service
For hosts with many consoles open at once. Set Console mode to the relay service, then run it and proxy it in nginx:
[Unit]
Description=Paymenter Proxmox console relay
After=network.target

[Service]
User=www-data
Group=www-data
WorkingDirectory=/var/www/paymenter
ExecStart=/usr/bin/php artisan proxmox:console-relay --listen=127.0.0.1:8095
Restart=always
RestartSec=3

[Install]
WantedBy=multi-user.target
Save it as /etc/systemd/system/paymenter-proxmox-console.service, run systemctl enable --now paymenter-proxmox-console and add this inside the server block of Paymenter:
location /proxmox-console/ {
    proxy_pass http://127.0.0.1:8095;
    proxy_http_version 1.1;
    proxy_set_header Upgrade $http_upgrade;
    proxy_set_header Connection "upgrade";
    proxy_set_header Host $host;
    proxy_read_timeout 4h;
}
Optional: direct mode
With Console mode set to direct, the browser opens the console on Proxmox itself. Proxmox must then be reachable by your customers on a host that shares a parent domain with Paymenter (for example billing.example.com and pve.example.com), with Console cookie domain set to .example.com. Create the console role and group once:
pveum role add ProxmoxConsole -privs "VM.Console VM.Audit"
pveum group add proxmox-console
Direct mode also needs Permissions.Modify in the role from the previous section, and User.Modify plus Realm.AllocateUser on /access/groups/proxmox-console and /access/realm/pve.
Server settings
| Setting | Description |
|---|---|
| Proxmox URL | Address Paymenter uses for the API, for example https://10.0.0.2:8006. |
| API token ID / secret | The token from the Proxmox section. |
| Verify the TLS certificate | Turn off only while Proxmox uses its self-signed certificate. |
| First / last VMID | New guests get the first free VMID in this range. |
| Console mode | Through Paymenter (default, no setup), through the optional relay service, or directly to Proxmox. |
| Demo mode | Customers can look around and use power actions, but cannot change or reinstall anything. |
Product settings
Create a product, choose your Proxmox server on the Server tab and fill in the settings.
| Setting | Description |
|---|---|
| Guest type | Virtual machine (KVM) or container (LXC). |
| Node | A fixed node, or automatic (the online node with the most free memory). Virtual machines are created on the node of their template. |
| Disk storage, resource pool | Where new disks go and which pool new guests join. |
| Templates | The templates customers can pick at checkout and when they reinstall. Give them friendly names in Template names, one per line: 9000 = Debian 13. |
| Clone mode | Full clone (independent disk) or linked clone (fast, depends on the template). |
| CPU | Cores, sockets, vCPUs at boot, CPU type, CPU limit and CPU weight. |
| Memory | Memory, minimum memory for ballooning (VM) or swap (container). |
| Disk | Size in GiB, cache, async IO, SSD emulation, discard and IO thread. |
| Network | Bridge, VLAN tag, network card and speed limit in MB/s. |
| IPv4 / IPv6 pool | See IP pools below. |
| Login user | The user cloud-init creates with the password and SSH keys. Leave empty to use the image default. |
| Proxmox firewall | Turns on the firewall. Locked security group is a datacenter group that always comes first and cannot be removed by customers. Block IP spoofing only allows traffic from the assigned addresses. |
| Backups / snapshots | Backup storage, how many backups and snapshots a customer may keep, and the backup mode. |
| Other | Customers can reinstall, start after creation, start when the node boots, delete backups on termination and Proxmox tags. |
IP pools
Write one range per line. Every line keeps its own prefix and gateway.
203.0.113.10-203.0.113.60/24 gw 203.0.113.1
198.51.100.0/28 gw 198.51.100.1
IPv6 as single addresses, or a whole /64 per server from a larger prefix with split 64:
2001:db8:1::/64 gw 2001:db8:1::1
2001:db8::/48 gw 2001:db8::1 split 64
The first address goes on the network card through cloud-init. Extra addresses are shown to the customer and allowed by the spoofing filter; the customer adds them inside the server.
Configurable options
Every product setting below can be changed per order with a configurable option. Use the setting name as the environment variable of the option and the number as the value.
| Environment variable | What it sets |
|---|---|
cores, sockets, vcpus | CPU cores, sockets and vCPUs |
cpu_limit, cpu_units | CPU limit and weight |
memory, balloon, swap | Memory in MiB |
disk | Disk in GiB (upgrades grow the disk, they never shrink it) |
rate | Network speed limit in MB/s |
ipv4_count, ipv6_count | Number of IPv4 addresses and IPv6 addresses or subnets |
backup_limit, snapshot_limit | Number of backups and snapshots |
Welcome email
Add these variables to the email template of the product:
IP address: {{ $ip }}
Username: {{ $username }}
Password: {{ $password }}
Hostname: {{ $hostname }}
IPv6: {{ $ipv6 }}
Also available: {{ $ipv4 }} (all IPv4 addresses), {{ $vmid }} and {{ $os }}.
Client area
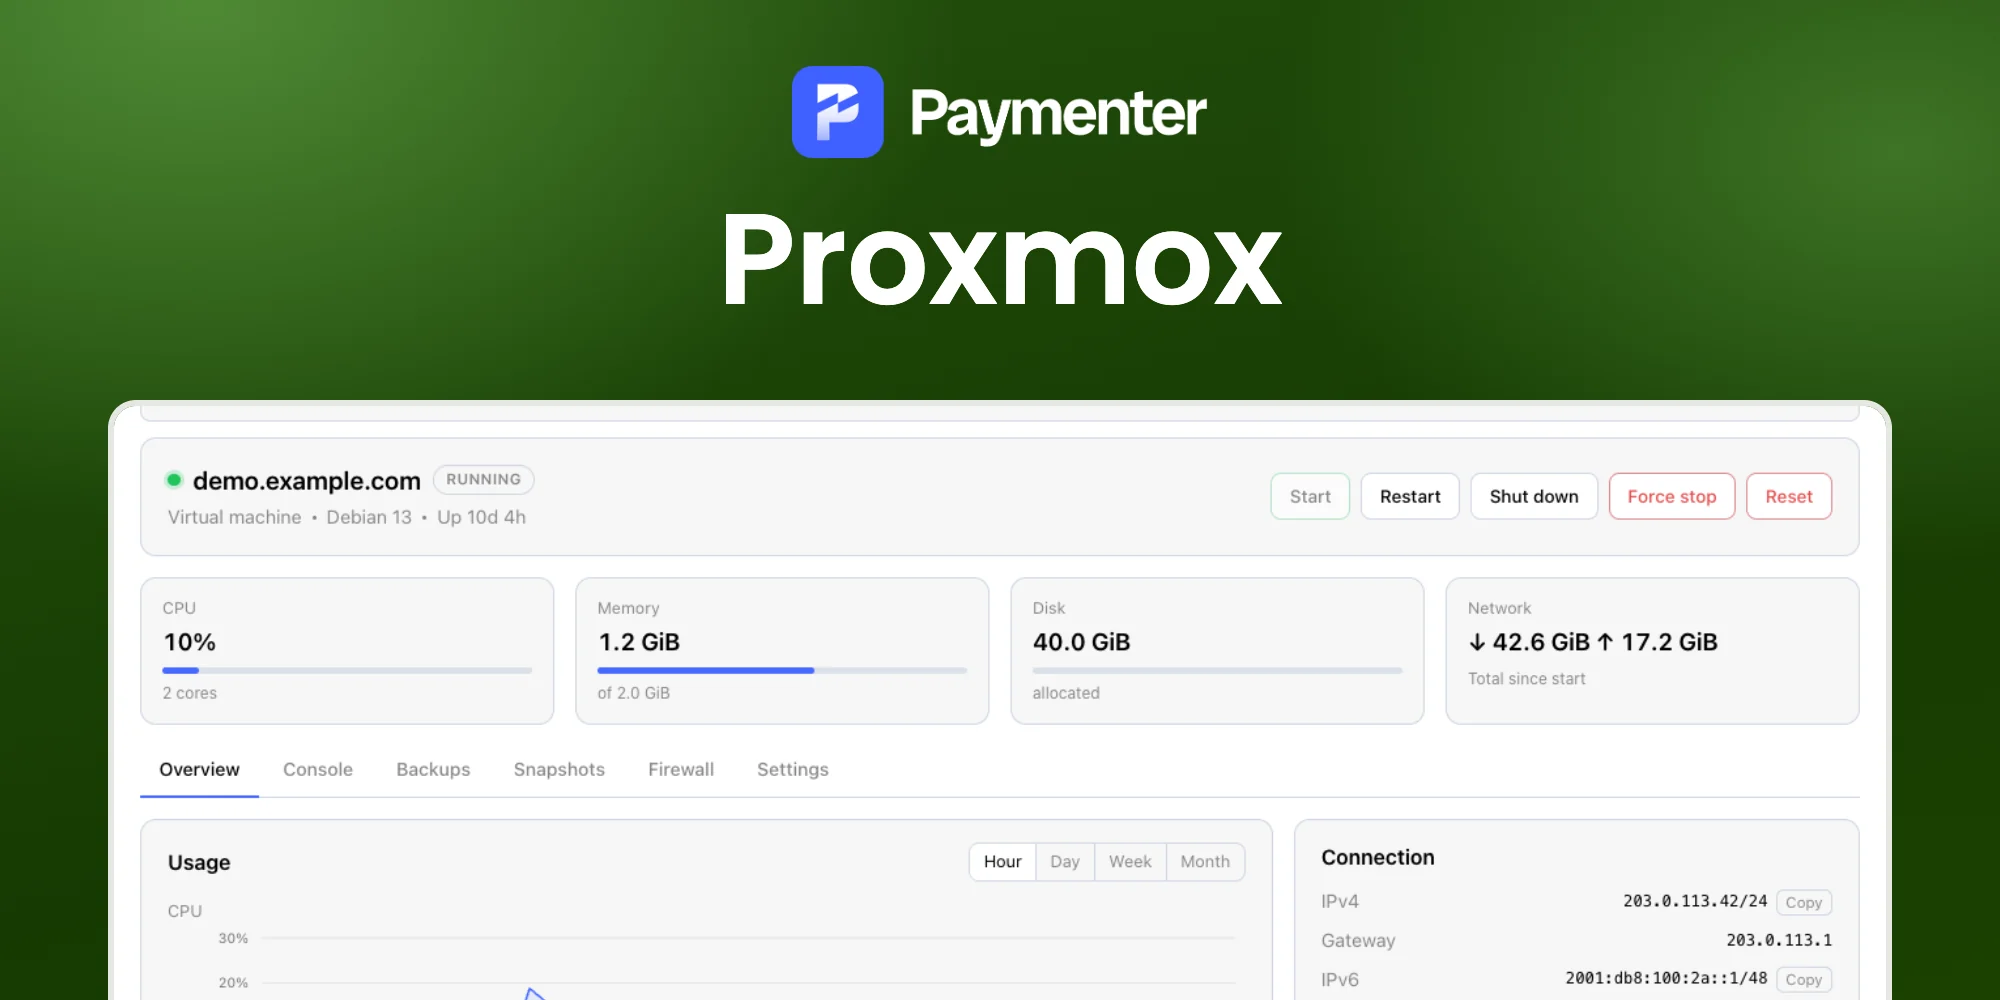
Customers get a Server tab with live usage, graphs, power controls, the console, backups, snapshots, firewall rules and settings for the hostname, password, SSH keys and reinstall.
- A new password works right away when the guest agent runs; otherwise it is set on the next restart.
- Containers have no API to change the root password; customers change it inside the container or reinstall.
- Reinstall keeps the VMID, IP addresses and backups, and creates a new password.
Updating
Replace the Proxmox folder with the new version. If you use the optional relay service, restart it with systemctl restart paymenter-proxmox-console.
Troubleshooting
| Problem | Solution |
|---|---|
| Test Connection fails with 401 | Check the token ID and secret. The token ID looks like paymenter@pve!billing. |
| Permission check failed | The token misses a privilege on that path. Compare the role and the ACL paths with the Proxmox section; templates must be in the pool. |
| No templates in the product | The template is not in the pool, or the token cannot see the storage that holds the container templates. |
| Password login over SSH does not work | The template still has the cloud image defaults. Prepare it as shown under Templates. |
| The console keeps connecting | Check that Paymenter can reach Proxmox on port 8006 and that the server is running. Behind nginx, make sure responses are not buffered for long requests (the extension sends X-Accel-Buffering: no). With the relay service, check systemctl status paymenter-proxmox-console. |
| Reinstall or restore stays busy | The Paymenter queue worker is not running. |