Requirements
- Pterodactyl Panel v2.0 or newer (the extension system).
- PHP 8.3 or newer with the phpseclib library bundled with the Panel (it ships by default).
- Outbound access from the Panel to the source host on its SFTP or FTP port.
- The user opening the page needs the server permission
ext.server-importer.use.
Installation
The entire install happens in the Panel. There is nothing to upload to your nodes.
Step 1: Download the extension
Download
server-importer-1.0.0.pteroext
from your purchase.
Step 2: Install in the Panel
- Sign in to your Panel as an administrator.
- Go to Admin → Extensions.
- Click Install and upload the
.pteroextfile. - Toggle the extension on to enable it, then reload the page.
An Importer tab now appears in the sidebar of each server.
Alternative: install from the command line
php artisan p:extension:install server-importer-1.0.0.pteroext --enableStep 1: Connect to the source
Open a server and click Importer in the server sidebar. Fill in the source connection, the host you are migrating away from:
- Protocol:
SFTP (SSH),FTP, orFTP over TLS. - Port: the port the source host listens on (
22for SFTP,21for FTP). - Host: the hostname or IP only. Do not include
sftp://or a:port. - Username and Password: the login for the source host.
- Remote folder: the folder on the other host to import from, for example
/.
Click Test connection to check the details, or Connect and browse to open the file tree.
Step 2: Choose what to import
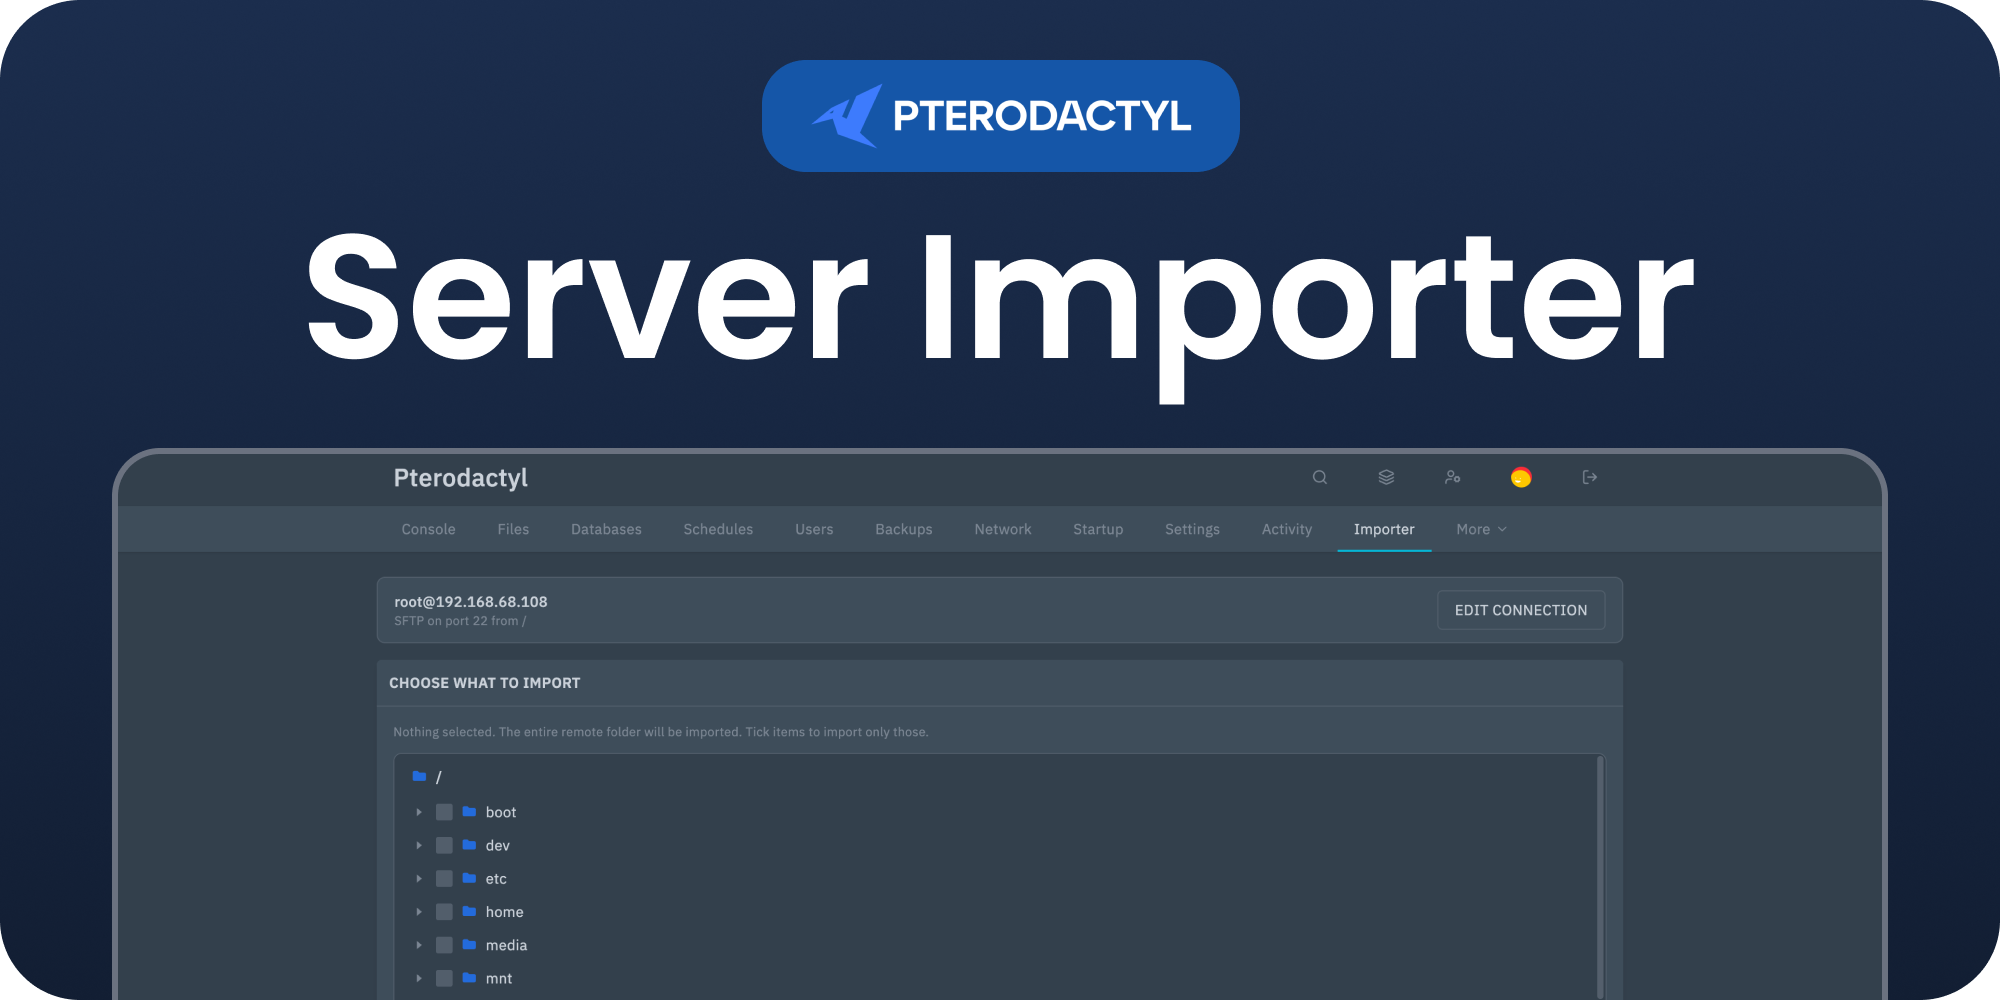
The remote folder opens as a tree. Expand folders and tick the files and folders you want to import. Ticking a folder brings in everything inside it. If you leave everything unticked, the entire remote folder is imported.
Step 3: Decide what happens to the current files
- Leave them in place (default): imported files are written on top of what is already on the server.
- Wipe server data: every existing file and folder is deleted before the import starts.
- Archive before wiping: the current files are compressed into an archive first, then removed, so you keep a copy.
When a wipe is selected you are asked to type WIPE to confirm before anything
is deleted.
Step 4: Import
Click Start import. The Panel connects to the source host, downloads each selected file, and writes it straight into this server through Wings. A progress bar tracks the import file by file. When it finishes, a summary shows how many files were imported and lists anything that was skipped (for example a file larger than the import limit). Restart or start the server when you are done.
Keep the server offline
Stop the server before importing. Files that are being written while the server is running can end up half written or locked, and a wipe cannot remove files the server still has open.
Permissions
The Importer page requires the ext.server-importer.use server permission.
Server owners and administrators normally have it; grant it to sub users in the server's
User editor.
Managing the extension
| Action | How |
|---|---|
| Disable without removing | Toggle the extension off, or php artisan p:extension:disable server-importer |
| Update | Install the newer .pteroext over the top from the Extensions page |
| Remove | Click Remove on the Extensions page, or php artisan p:extension:remove server-importer |
Need Help?
Join our Discord Server and open a ticket for support.
© 2026 Server Importer, BuiltByOtte . All rights reserved.