Installation
Step 1: Upload Extension Files
Upload the Gateway Fees extension files to your Paymenter installation:
/var/www/paymenter/extensions/Others/GatewayFee/
Upload all Gateway Fees extension files to
extensions/Others/GatewayFee/
using SFTP or your preferred file transfer method.
Step 2: Enable Extension
Enable the extension in your Paymenter admin panel:
Admin Panel → Extensions → Others → GatewayFee → EnableThe extension will automatically run database migrations when enabled.
Configuration
Configure your fees at Admin Panel → Extensions → Others → GatewayFee → Configure . Each payment gateway you have enabled gets its own additional fee.
| Setting | Description |
|---|---|
| Gateway | The payment method the fee applies to, for example PayPal or Stripe. |
| Additional fee | The amount added to the order total when the customer pays with that gateway. |
Leave a gateway at zero to charge no additional fee for it. Only the gateway the customer actually selects is charged.
How It Works
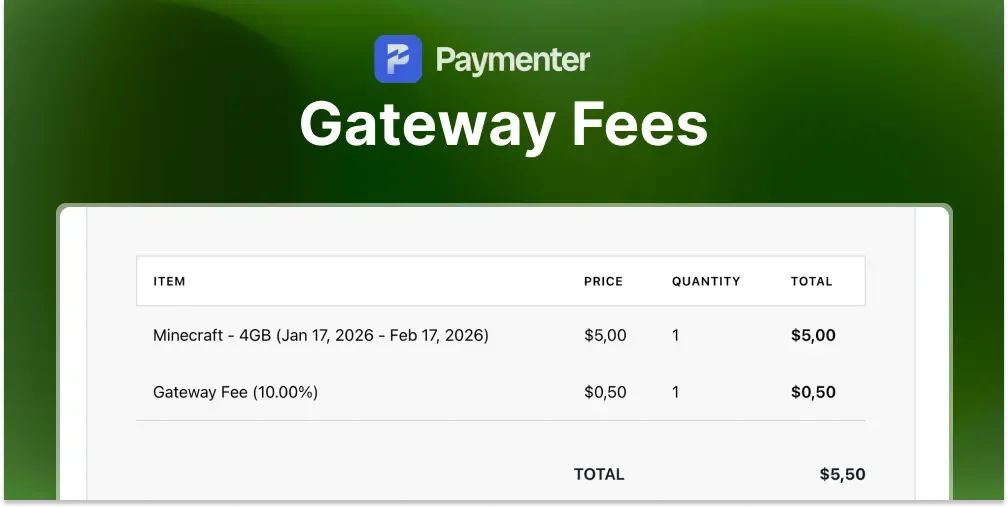
When a customer picks a payment method at checkout, the fee configured for that gateway is applied to the order. The cost of the method is reflected in the total instead of quietly coming out of your margin.
This also tends to steer payment choice: when an expensive method visibly costs more, customers lean towards the cheaper one, which lowers your average processing cost over time.
Choosing Your Fees
Set each fee from what the provider actually charges you. Most processors take a percentage plus a fixed amount, and the rates differ per method, so a flat figure across all gateways will over-recover on some and under-recover on others. Check your provider's current pricing before setting the values, and review them when your rates change.
To see the effect on your margin over time, the Expense Manager tracks income against costs in the same panel.
Need Help?
Join our Discord Server and open a ticket for support.
© 2026 Gateway Fees Extension - BuiltByOtte . All rights reserved.