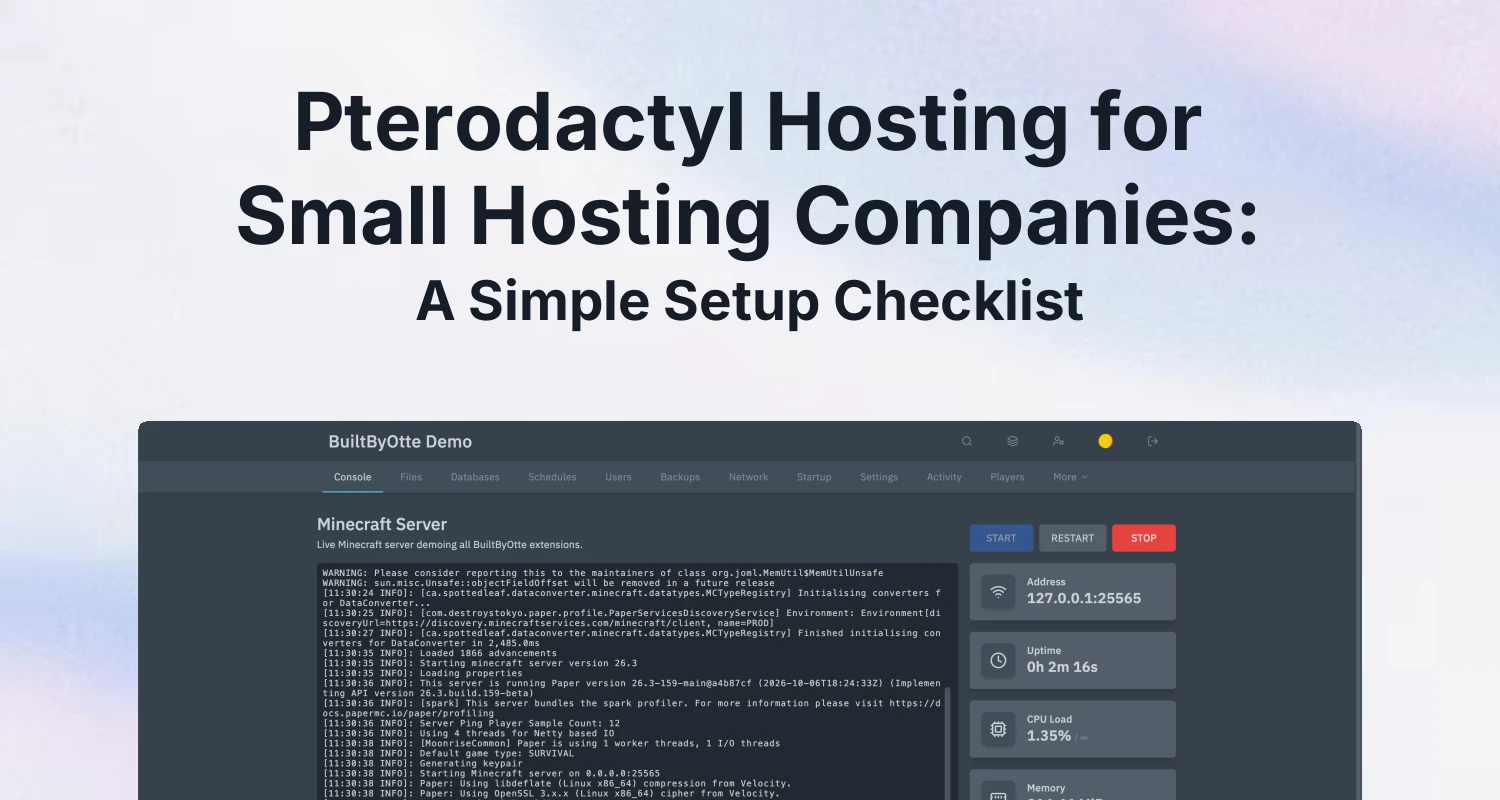
A small hosting company does not need a complicated control plane on day one. It does need a setup that is understandable, recoverable and ready for customers. This checklist covers the decisions that are easy to overlook when installing Pterodactyl.
1. Choose the panel and domain
Use a dedicated panel address such as panel.example.com and keep it separate from your marketing site. Confirm that SSL is automatic and that the panel will remain reachable while you add nodes or change your website.
2. Plan the nodes separately
Pterodactyl manages game servers through Wings nodes. The panel host and the node hardware do different jobs. Choose node locations, storage, memory and network capacity based on the games you will offer. A managed panel does not remove the need to choose and maintain suitable nodes.
3. Decide how updates and backups work
Panel updates should be planned, reversible and visible. Backups should be encrypted, kept for long enough to recover from an accidental change and tested as a recovery process. A backup that has never been restored is only an assumption.
4. Keep access and extensions under control
Use separate administrator accounts, enable the security settings you need and review every extension before installing it. Themes and extensions can improve the customer experience, but they also become part of the panel you must maintain.
5. Start with a small, measurable launch
Before inviting customers, create one test server, verify a node connection, test a backup and open the panel from the domain you will publish. Then measure support questions and resource use instead of guessing what to scale.
Start a managed Pterodactyl panel free for three days if you want to test the panel setup before committing.
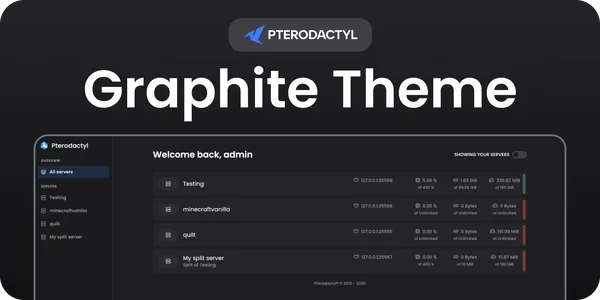 Graphite Theme | Pterodactyl v2
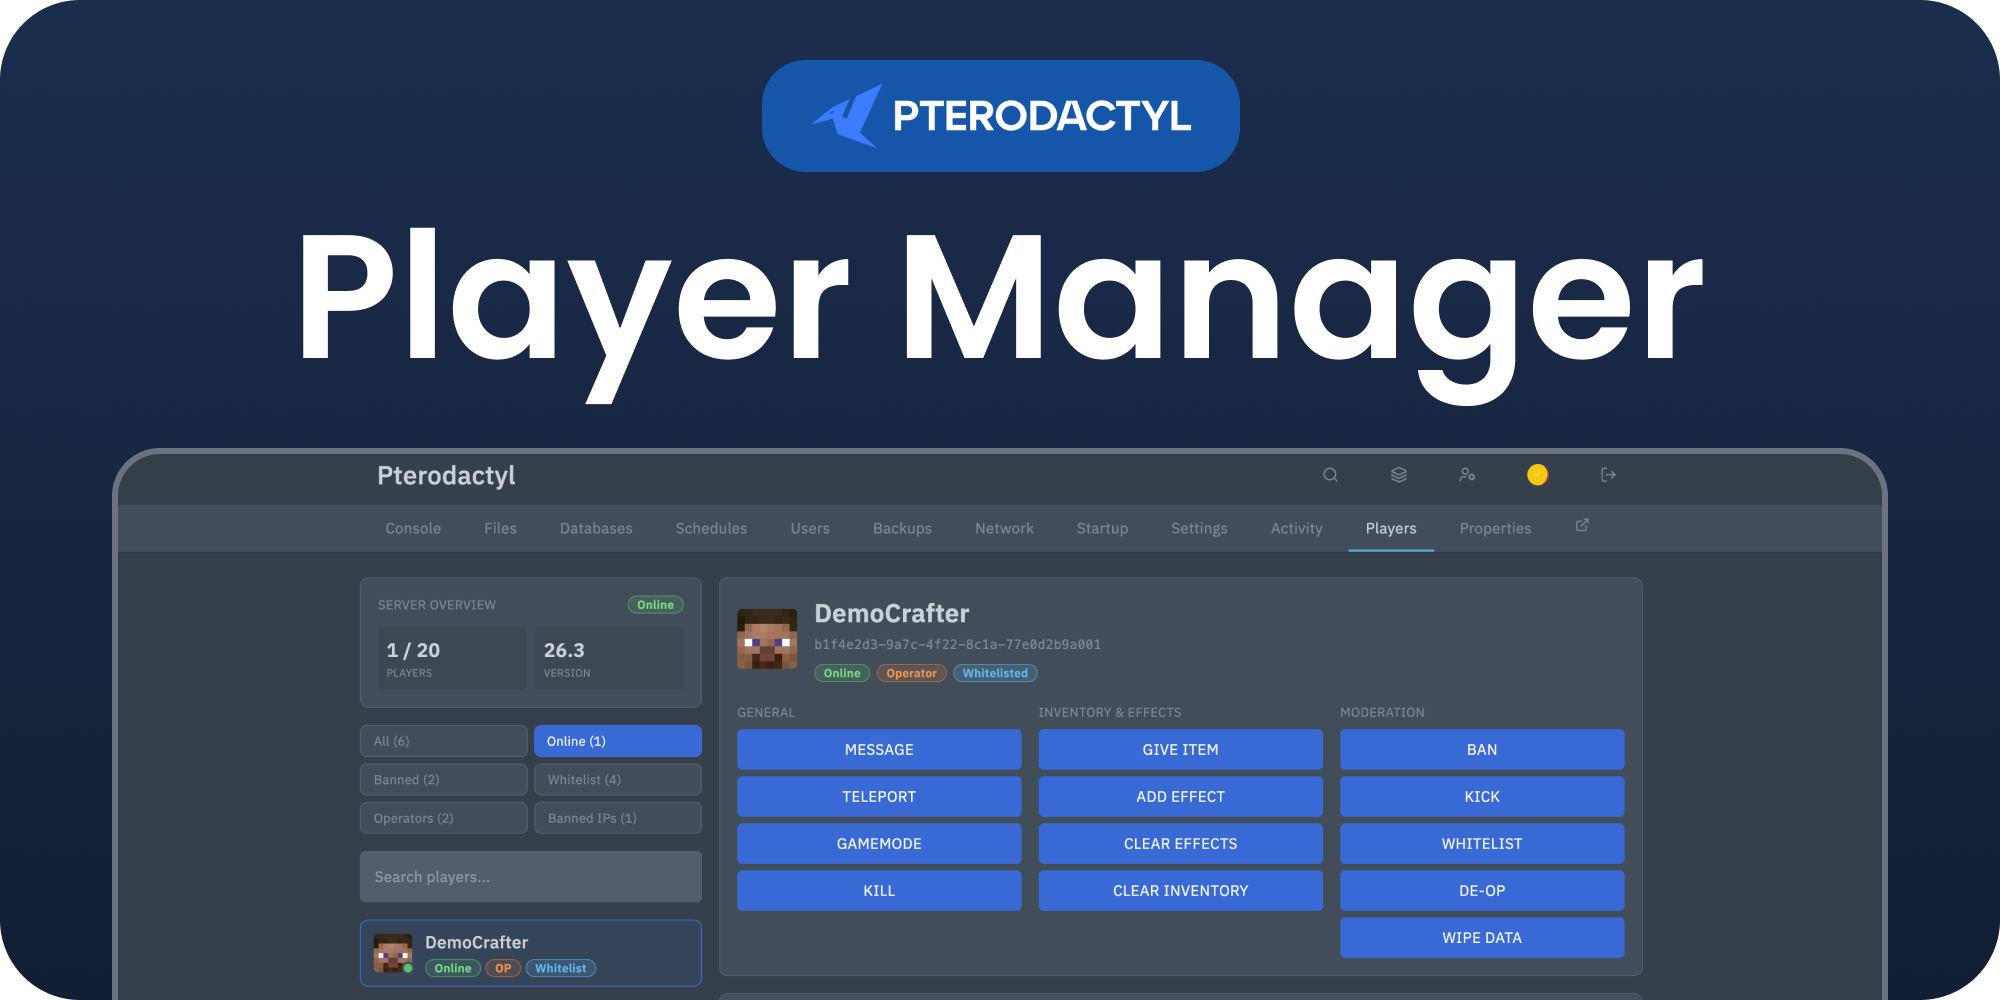 Player Manager | Pterodactyl v2