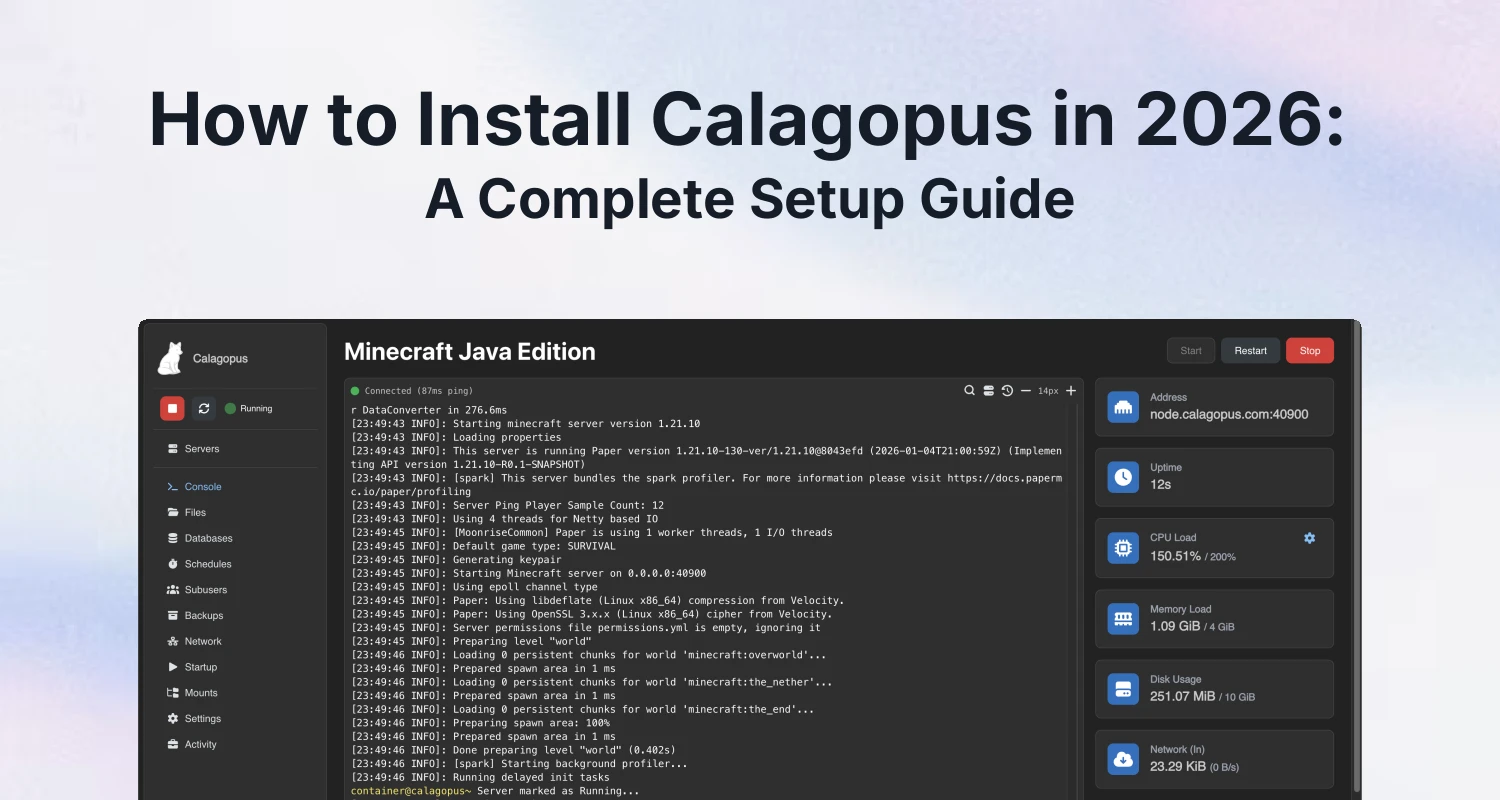
Calagopus is a Rust-based, open-source game server management panel, and getting it running comes down to one decision first: Docker, a package manager, or a raw binary. Pick Docker if you want extensions or a quick single-node setup, and pick a package manager or binary only if you're fine losing extension support in exchange for a more traditional install.
Below we walk through the requirements, compare the three install paths, and go through the actual commands for the fastest route: the Docker All-in-One (AIO) image, straight from the official Calagopus installation docs.
None of this requires touching Pterodactyl or Paymenter first — Calagopus is a standalone panel you can install on any VPS that meets the requirements below, whether you're replacing an existing setup or hosting game servers for the first time.
Minimum requirements
Before you install anything, check your server against Calagopus's own minimums, as listed in the panel overview docs:
- OS: Windows 10 or later, macOS, Ubuntu 22.04 LTS or later, Debian 11 or later, or anything that supports a modern version of Docker.
- CPU: x86_64, ARM64, RISC-V, or PPC64LE — extensions specifically require x86_64 or ARM64.
- RAM: 512 MB minimum, 1 GB recommended, or 2 GB if you plan to use extensions.
- Storage: 1 GB minimum, 10 GB recommended if you're using extensions.
- Database: PostgreSQL.
Those numbers are for the panel itself. You'll also need at least one node running Wings, the daemon that actually runs your game servers in Docker containers, once you're ready to host something.
Choosing an installation method
The installation docs list four approaches: Docker, a package manager (APT, RPM, or APK), a binary, and platform-specific options for systems like TrueNAS SCALE or Unraid. For most people it's a choice between the first three.
| Method | Extensions | What you need first | Best for |
|---|---|---|---|
| Docker | Supported | Docker + Docker Compose | Most deployments, especially single-node setups |
| Package manager (APT/RPM/APK) | Not supported | PostgreSQL 18 and Valkey or Redis, installed manually | Traditional Linux server admins who don't need extensions |
| Binary | Not supported | PostgreSQL and Valkey/Redis, installed manually | Linux, macOS, or Windows hosts without Docker |
The docs are explicit that both the package manager install and the binary install do not support extensions in any capacity — if you think you'll want extensions later, start with Docker.
Installing with Docker (recommended)
Calagopus ships several Docker image variants, documented on the Docker installation page. Standalone images (:latest, :latest-pre, :nightly, and :heavy builds that include extension build tools) run only the panel. All-in-One images (:aio, :heavy-aio, and their nightly equivalents) bundle the panel and Wings together in one container.
Single node: the All-in-One image
If you're running a single VPS with the panel and your game servers on the same box, the AIO image is the simplest path. The steps from the official docs:
- Confirm Docker and Compose are installed:
docker --versionanddocker compose version. - Create a project folder and download the compose file:
mkdir calagopus-panel && cd calagopus-panel, thencurl -o compose.yml https://raw.githubusercontent.com/calagopus/panel/refs/heads/main/compose.aio.yml. - Create the mandatory Wings config file:
echo 'app_name: Calagopus' > wings-config.yml. - Generate a random encryption key and drop it into the compose file: generate a 32-character random string and replace the
CHANGEMEplaceholder forAPP_ENCRYPTION_KEYwith it (for example usingsed). - Start everything:
docker compose up -d.
Once the containers are up, open http://<your-server-ip>:8000 and you'll land on the out-of-box setup (OOBE) screen to create your admin account.
Multi-node: standalone Panel plus Wings
If you're splitting the panel from your game server nodes, use the standalone compose.yml instead of the AIO compose file for the panel host, then install Wings separately on each node that will actually run servers. The panel and package-manager/binary docs both point to the same Docker guide for the exact standalone steps.
Getting HTTPS and a domain in front of the panel
The panel installation docs note that their recommended path for a new Linux VPS — the All-in-One install — also walks through optional Caddy HTTPS configuration once the panel itself is running, so you don't have to leave the panel on a bare IP and port 8000 for customers to log into. The documentation home lists a broader "Additional" section covering SSL, reverse proxies, and OAuth login as separate topics once the base install is done, so treat the steps above as getting the panel running, not the full production checklist.
Installing via package manager or binary
If you'd rather skip Docker and extensions aren't a priority, both remaining methods follow a similar shape, per the package manager and binary docs:
- Install PostgreSQL 18 and Valkey (or Redis) yourself first — the panel doesn't bundle these outside of Docker.
- For the package manager route, add the Calagopus APT/RPM/APK repository and run
apt install -y calagopus-panel(orcalagopus-panel-aioif you want Wings bundled on that same host). Then create a PostgreSQL user and a database namedpanel. - For the binary route, download the compiled binary for your OS and architecture from GitHub Releases, and confirm it runs with
calagopus-panel version. - Either way, download the
.env.examplefile and fill inDATABASE_URL,REDIS_URL, and a randomAPP_ENCRYPTION_KEY. - Run the panel once to check for errors, then install it as a background service —
calagopus-panel service-installon Linux, or NSSM on Windows.
One Windows-specific note from the binary docs: Valkey isn't available there, so you remove REDIS_URL from your .env and the panel falls back to in-memory caching instead. Both methods land you on the same OOBE screen at http://<server-ip>:8000 once the service is running.
Panel, Wings, and DB Agent
The Calagopus documentation home describes three components you'll encounter: the Panel (the web interface and API), Wings (the node daemon that runs your game servers in Docker containers), and an optional DB Agent for containerized database provisioning on your servers. Wings has its own Docker, package manager, and binary install options, documented separately for each node you add.
In practice that means the panel install above only gets you the management layer. If you used the AIO image, Wings is already running alongside it on that same host — that's what the mandatory wings-config.yml file from the AIO steps is for. If you installed the standalone panel instead, you still need to install Wings on every host that will actually run game servers, following the Wings installation docs, which offer the same Docker, package manager, and binary choices as the panel.
Already running Pterodactyl?
Calagopus has a built-in importer for moving off Pterodactyl, and we've already covered that migration path in detail — see How to Migrate Pterodactyl to Calagopus Without Losing Servers. This guide is for a fresh install; if you're moving existing servers over, that post is the better starting point.
A useful addon once you're up and running
If you're setting up Calagopus for game server customers, one small thing worth having early is a way to show server status without customers guessing whether a listing state means offline, installing, or suspended. Our AlwaysMOTD Addon for Calagopus ($4.99) keeps an always-on MOTD showing whether a server is offline, installing, starting, or suspended, so that state is visible at a glance instead of buried in the panel.
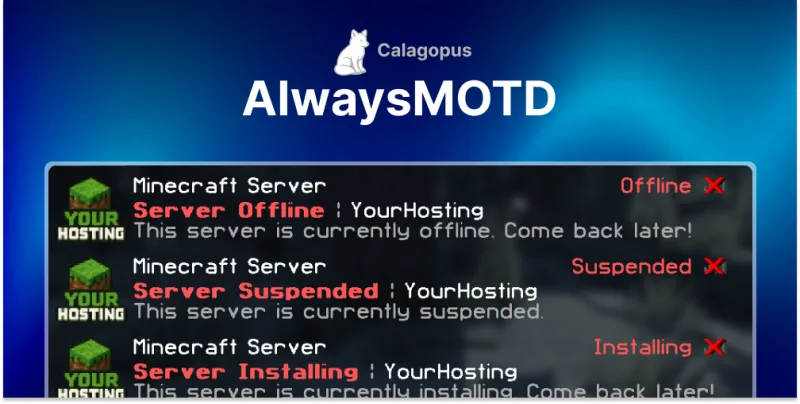 AlwaysMOTD Addon | Calagopus