Requirements
- Pterodactyl Panel v2.0 or newer (the extension system).
- A Minecraft (Java) server running a mod loader such as Fabric, Forge, NeoForge, or Quilt.
- Outbound internet access for the browser and node so mod metadata and files can be retrieved from Modrinth.
- The user opening the page needs the server permission
file.read. - The user needs
file.createandfile.updateto install or enable/disable mods, andfile.deleteto uninstall them.
Installation
Step 1: Download the extension
Extract the product ZIP and keep both
mods-installer-1.0.0.pteroext
Step 2: Install in the Panel
- Sign in to your Panel as an administrator.
- Go to Admin → Extensions.
- Click Install and upload the
.pteroextfile. - Toggle the extension on to enable it, then reload the page.
A Mods tab now appears in the sidebar of each server.
Alternative: install from the command line
php artisan p:extension:install mods-installer-1.0.0.pteroext --enableServer compatibility
When the Mods page opens, it checks the server's startup settings and root files to identify the server software. Mods are intended for loader-based servers:
- Supported: Fabric, Forge, NeoForge, Quilt, and similar mod loaders.
- Not supported: Vanilla servers and Bukkit-based software such as Paper, Purpur, Spigot, and Folia. These use plugins rather than mods.
If the software cannot be identified, the page shows a warning instead of blocking you.
Only install mods when you know the server loads a
/mods
folder.
Using the installer
Browse and install mods
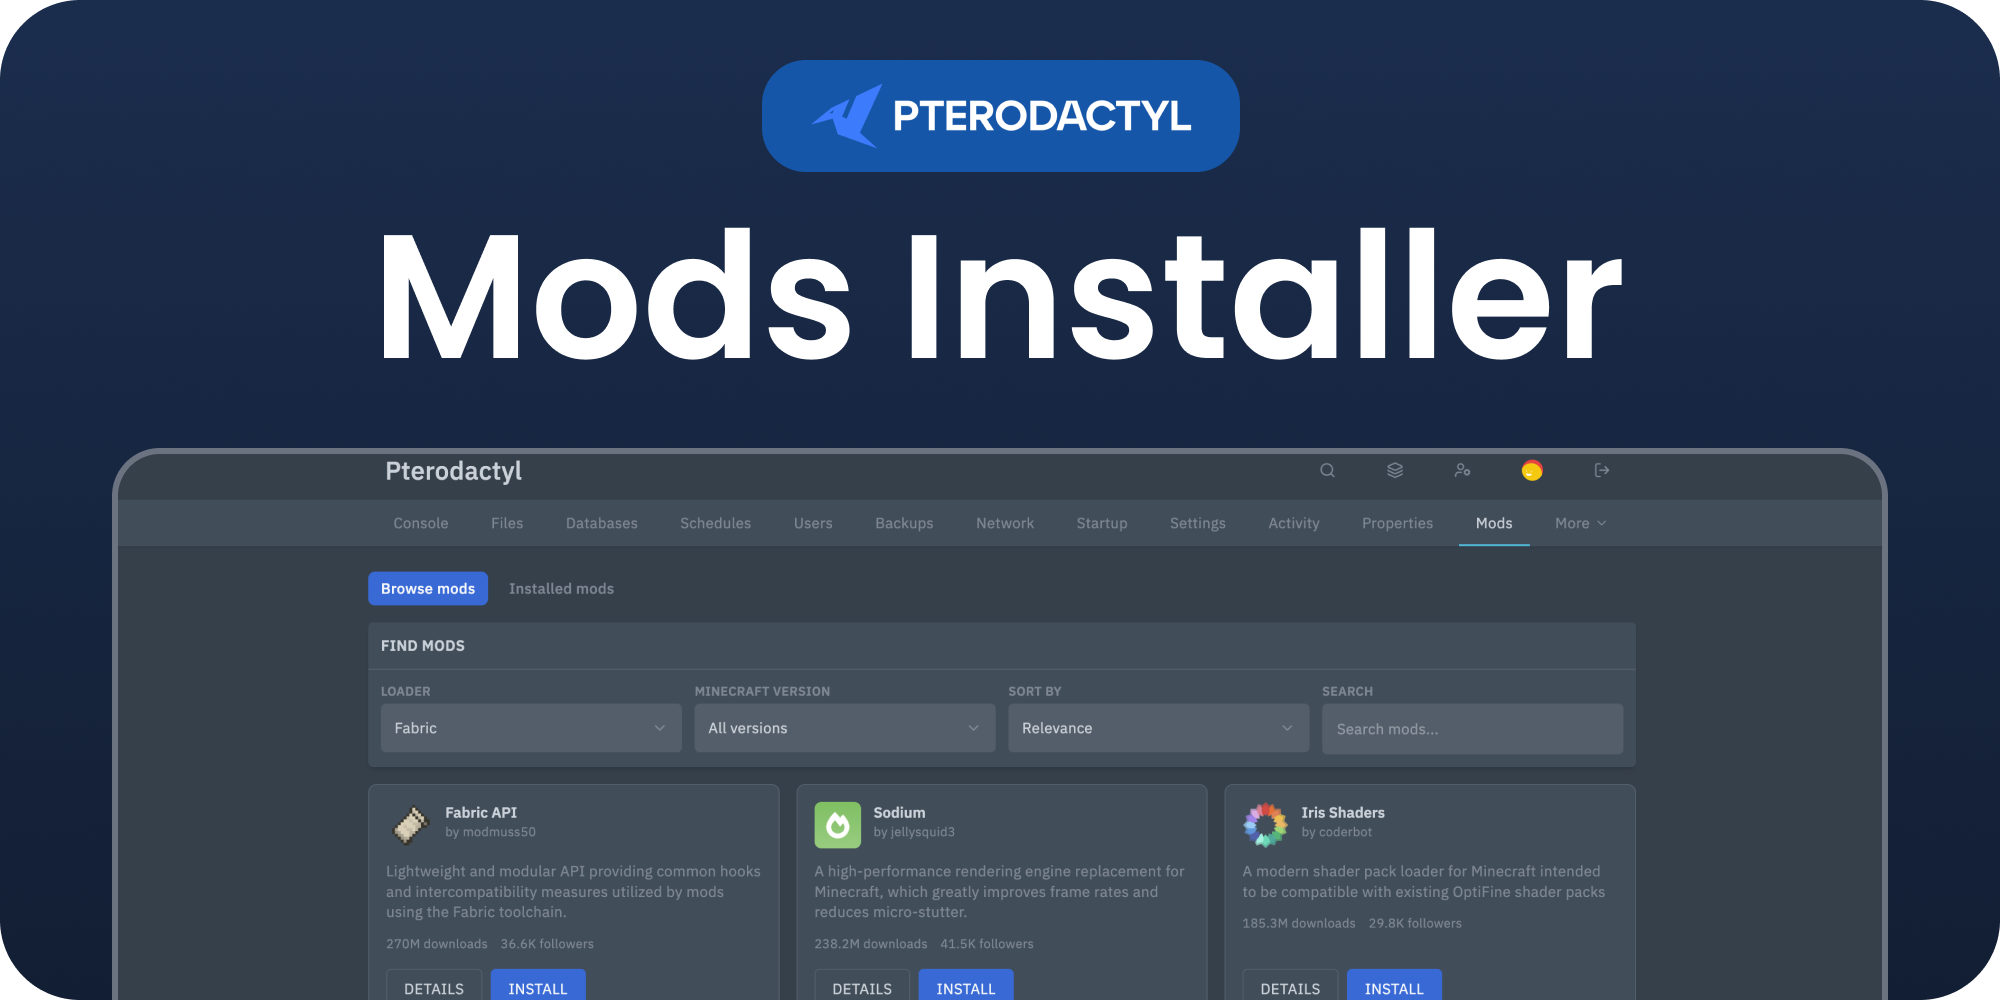
Open a server and click Mods in the server sidebar. In Browse mods, use the filters to find a mod:
- Choose the server Loader, such as Fabric, Forge, NeoForge, or Quilt.
- Optionally choose a Minecraft version.
- Sort by relevance, downloads, followers, newest, or recently updated.
- Search by mod name or keyword, then click Details to view the Modrinth project or Install to continue.
Select the mod version in the install dialog and review its supported loaders and
Minecraft versions. The selected file is downloaded into
/mods
. The directory is created automatically if it does not exist. Restart the server after
installation so the server loads the mod.
Manage installed mods
Switch to Installed mods to see the mod jar files currently in
/mods
. From there you can:
- Disable a mod by renaming its file to
.jar.disabled. - Enable a disabled mod by restoring its
.jarname. - Uninstall a mod, which permanently deletes its jar after confirmation.
Enabling or disabling changes the file name only; restart the server to load or unload the mod. Mod configuration files are not removed when a jar is uninstalled.
Permissions
The Mods page requires file.read. Installing a mod or toggling one
requires both file.create and file.update. Uninstalling a mod
requires file.delete. Server owners and administrators normally have these
permissions; grant the required permissions in the server's User editor for sub users.
Managing the extension
| Action | How |
|---|---|
| Disable without removing | Toggle the extension off, or php artisan p:extension:disable mods-installer |
| Update | Install the newer .pteroext over the top from the Extensions page |
| Remove | Click Remove on the Extensions page, or php artisan p:extension:remove mods-installer |
Need Help?
Join our Discord Server and open a ticket for support.
© 2026 Mods Installer, BuiltByOtte . All rights reserved.