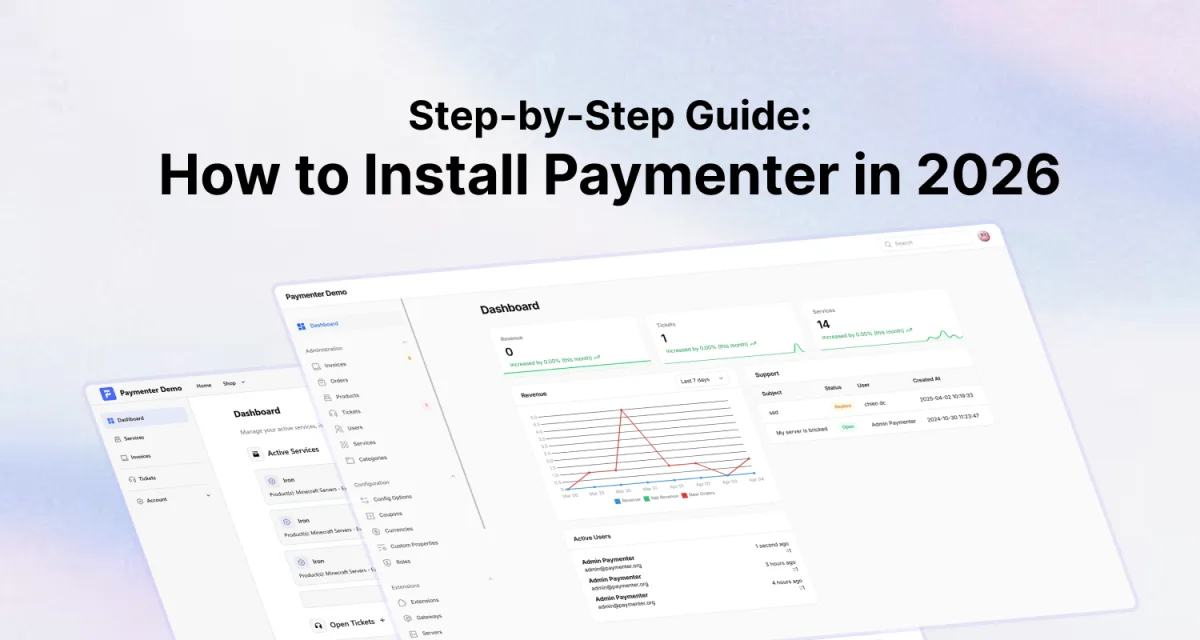
Paymenter is a free, open-source hosting billing platform built on Laravel. Installing it yourself is straightforward if you're comfortable with Linux, but there are enough moving parts, PHP versions, database config, queue workers, SSL, that a solid reference is useful.
This guide covers a full production-ready installation on Ubuntu 22.04 using Nginx. The steps apply to Ubuntu 24.04 as well with minor differences.
Requirements
Before you start, make sure you have:
- A VPS or dedicated server running Ubuntu 22.04 or 24.04
- A domain name pointed at your server's IP (A record)
- Root or sudo access
- At least 1 vCPU and 1 GB RAM (2 GB recommended)
- At least 10 GB of disk space
Paymenter cannot be installed on shared hosting. It requires the ability to configure PHP, a database server, a queue worker, and a reverse proxy, all of which need root access.
Step 1: Prepare Your Server
Start with a clean system update:
apt update && apt upgrade -yInstall some common utilities if they're not already present:
apt install -y curl wget unzip git software-properties-commonStep 2: Install PHP 8.2+
Paymenter requires PHP 8.2 or higher. Add the Ondřej Surý PPA and install PHP with the required extensions:
add-apt-repository ppa:ondrej/php -y
apt update
apt install -y php8.2 php8.2-fpm php8.2-cli php8.2-mysql php8.2-mbstring \
  php8.2-xml php8.2-curl php8.2-zip php8.2-bcmath php8.2-gd php8.2-redis
Verify the installation:
php -vStep 3: Install MySQL
apt install -y mysql-server
mysql_secure_installation
Then create a database and user for Paymenter:
mysql -u root -p

CREATE DATABASE paymenter;
CREATE USER 'paymenter'@'localhost' IDENTIFIED BY 'your_strong_password';
GRANT ALL PRIVILEGES ON paymenter.* TO 'paymenter'@'localhost';
FLUSH PRIVILEGES;
EXIT;
Step 4: Install Composer and Node.js
Paymenter uses Composer for PHP dependencies and Node.js for frontend asset compilation:
curl -sS https://getcomposer.org/installer | php
mv composer.phar /usr/local/bin/composer
chmod +x /usr/local/bin/composer
curl -fsSL https://deb.nodesource.com/setup_20.x | bash -
apt install -y nodejsStep 5: Install Nginx
apt install -y nginxStep 6: Download Paymenter
Create the web directory and download the latest Paymenter release:
mkdir -p /var/www/paymenter
cd /var/www/paymenter
curl -Lo paymenter.tar.gz https://github.com/paymenter/paymenter/releases/latest/download/paymenter.tar.gz
tar -xzvf paymenter.tar.gz
chmod -R 755 storage bootstrap/cache
Step 7: Configure the Environment
Copy the example environment file and open it for editing:
cp .env.example .env
nano .env
Update these values in the .env file:
APP_URL=https://your-domain.com
APP_TIMEZONE=UTC

DB_DATABASE=paymenter
DB_USERNAME=paymenter
DB_PASSWORD=your_strong_password

MAIL_MAILER=smtp
MAIL_HOST=your-smtp-host
MAIL_PORT=587
MAIL_USERNAME=your-email
MAIL_PASSWORD=your-email-password
MAIL_FROM_ADDRESS=billing@your-domain.com
MAIL_FROM_NAME="Your Hosting Business"
Save the file, then install PHP dependencies and generate your application key:
composer install --no-dev --optimize-autoloader
php artisan key:generate --force
Step 8: Run Migrations and Seed
php artisan migrate --force
php artisan db:seed --force
This creates all the database tables and seeds the initial configuration data.
Step 9: Build Frontend Assets
npm install
npm run build
Step 10: Set File Permissions
chown -R www-data:www-data /var/www/paymenter
chmod -R 755 /var/www/paymenter
chmod -R 775 /var/www/paymenter/storage /var/www/paymenter/bootstrap/cache
Step 11: Configure Nginx
Create a new Nginx server block:
nano /etc/nginx/sites-available/paymenterPaste the following configuration (replace your-domain.com):
server {
    listen 80;
    server_name your-domain.com;
    root /var/www/paymenter/public;

    index index.php;

    location / {
        try_files $uri $uri/ /index.php?$query_string;
    }

    location ~ \.php$ {
        include snippets/fastcgi-php.conf;
        fastcgi_pass unix:/var/run/php/php8.2-fpm.sock;
    }

    location ~ /\.ht {
        deny all;
    }
}
Enable the site and test the configuration:
ln -s /etc/nginx/sites-available/paymenter /etc/nginx/sites-enabled/
nginx -t
systemctl reload nginx
Step 12: Set Up SSL with Certbot
apt install -y certbot python3-certbot-nginx
certbot --nginx -d your-domain.com
Follow the prompts. Certbot will automatically update your Nginx config to redirect HTTP to HTTPS and handle certificate renewal.
Step 13: Set Up the Queue Worker
Paymenter uses Laravel queues for background jobs like sending emails and provisioning services. Without a running queue worker, these tasks won't execute.
Create a systemd service:
nano /etc/systemd/system/paymenter.service[Unit]
Description=Paymenter Queue Worker
After=network.target
[Service]
User=www-data
Group=www-data
WorkingDirectory=/var/www/paymenter
ExecStart=/usr/bin/php /var/www/paymenter/artisan queue:work --sleep=3 --tries=3 --max-time=3600
Restart=on-failure
RestartSec=5
[Install]
WantedBy=multi-user.targetsystemctl enable paymenter
systemctl start paymenter
systemctl status paymenterAlso add the scheduler to cron:
crontab -e -u www-data* * * * * php /var/www/paymenter/artisan schedule:run >> /dev/null 2>&1Step 14: First Login and Setup
Create your admin account:
php artisan p:user:createVisit https://your-domain.com/admin and log in. The setup wizard will walk you through:
- Business name and branding
- Currency and tax settings
- Email configuration
- Payment gateway setup (Stripe, PayPal, Mollie, etc.)
- Creating your first product
After Installation: Recommended Extensions
A stock Paymenter installation works well, but most hosting businesses need a few additional features to run smoothly. Here are the extensions worth installing immediately:
- Security Addon: Block abusive IPs, VPNs, and disposable email addresses. One of the first things to install.
- Privacy Tools: Adds GDPR-compliant cookie consent, data export, and account deletion. Required if you have EU customers.
- Helpcenter: Give clients a knowledge base so they can self-serve common questions before opening a ticket.
- Statuspage: Show a live status page for your services. Reduces support tickets during incidents.
- Better SEO Addon: Adds proper meta tags, Open Graph, sitemap generation, and structured data to your Paymenter store.
Browse all Paymenter extensions by BuiltByOtte to see the full catalogue.
Common Issues
500 Error on First Visit
Almost always a permissions issue or a missing APP_KEY. Check that:
storage/andbootstrap/cache/are writable bywww-data- You ran
php artisan key:generate - The
.envfile exists andAPP_KEYis set
Emails Not Sending
If invoices or welcome emails aren't sending, check two things:
- The queue worker is running:
systemctl status paymenter - Your SMTP credentials in
.envare correct. Test withphp artisan tinkerandMail::raw('test', fn($m) => $m->to('you@example.com')->subject('test'));
Services Not Provisioning
Provisioning runs through the queue. If services aren't being created after payment:
- Confirm the queue worker is active
- Check
storage/logs/laravel.logfor errors - Verify your control panel API credentials in the admin panel
Conclusion
Paymenter takes about an hour to set up properly from a clean server. The process is well-documented and the Laravel foundation makes it predictable, once you have PHP, MySQL, Nginx, and a queue worker running, most issues are config rather than anything fundamentally wrong.
Once it's running, it's a solid, zero-cost billing platform that can handle everything a small to medium hosting business needs. And with the right extensions, you can close almost every gap between Paymenter and paid alternatives.
New to Paymenter? Read our overview of Paymenter as a free WHMCS alternative to understand what you're getting before you commit to the install.
Frequently Asked Questions
What are the server requirements for Paymenter?
PHP 8.2+, MySQL 8.0 or MariaDB 10.3+, Composer, Node.js, and Nginx or Apache. Minimum 1 vCPU and 1 GB RAM; 2 GB recommended.
Is Paymenter free to self-host?
Yes. Self-hosting is entirely free. You only pay for your own server. A managed hosted option is also available at $5/month.
How long does installation take?
30–60 minutes for someone comfortable with Linux administration. First-timers should budget 1–2 hours.
Can I install Paymenter on shared hosting?
No. Paymenter requires root access for PHP configuration, a queue worker, and a web server setup. A VPS or dedicated server is required.
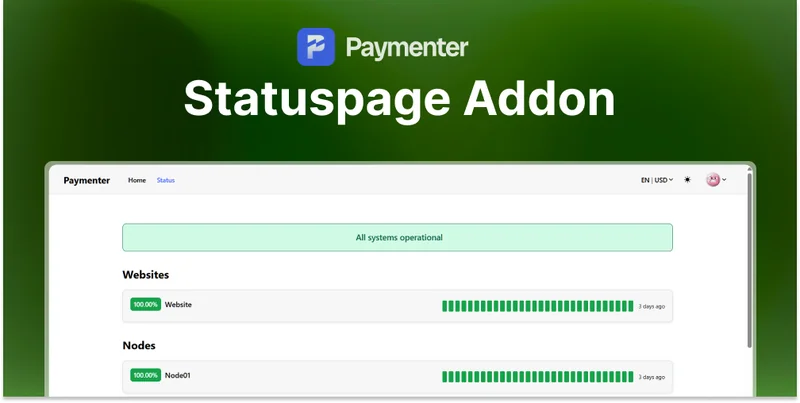 Statuspage Addon | Paymenter
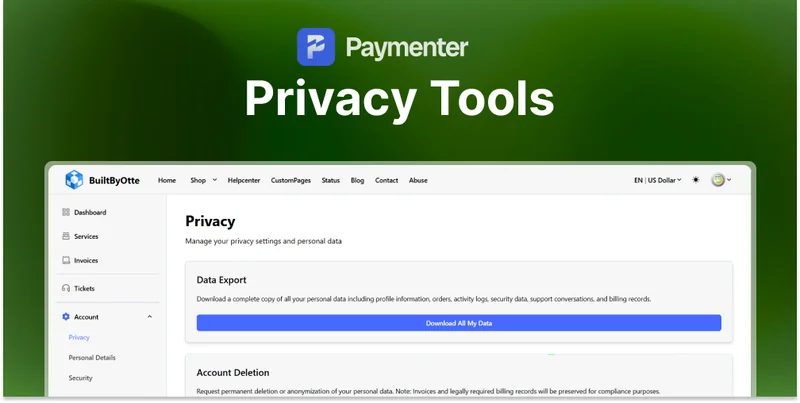 Privacy Tools | Paymenter
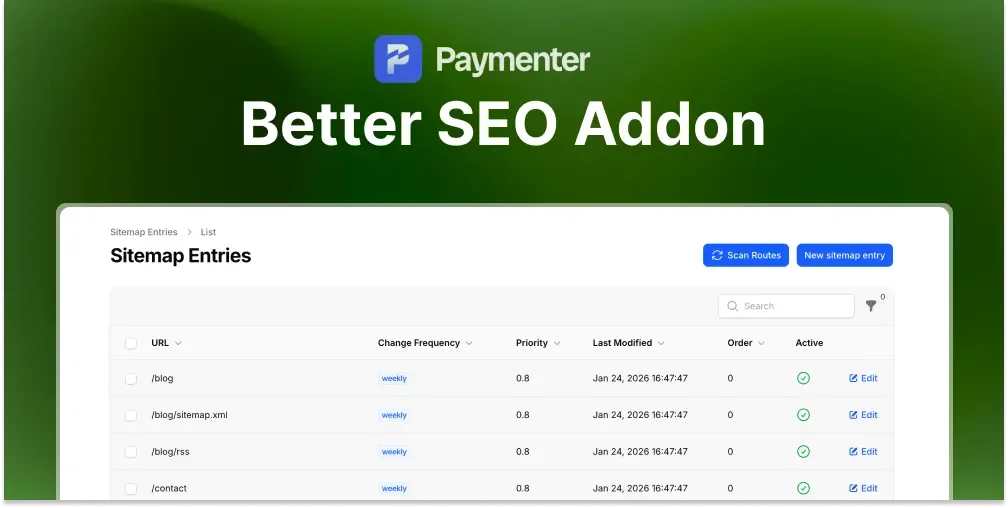 Better SEO Addon | Paymenter